
- Applications & Features
- Fixing Instructions
• Internal and external use
• Brickwork, blockwork and random stone
• Single leaf or cavity wall
• Masonry up to 8 metres high
• Wall widths from 60mm to 250mm
• Imperial and metric masonry
Prepare existing walls by removing any existing render finish.
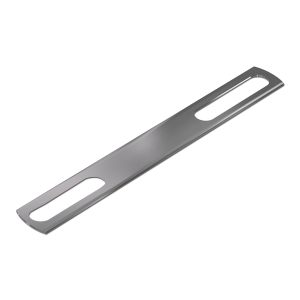
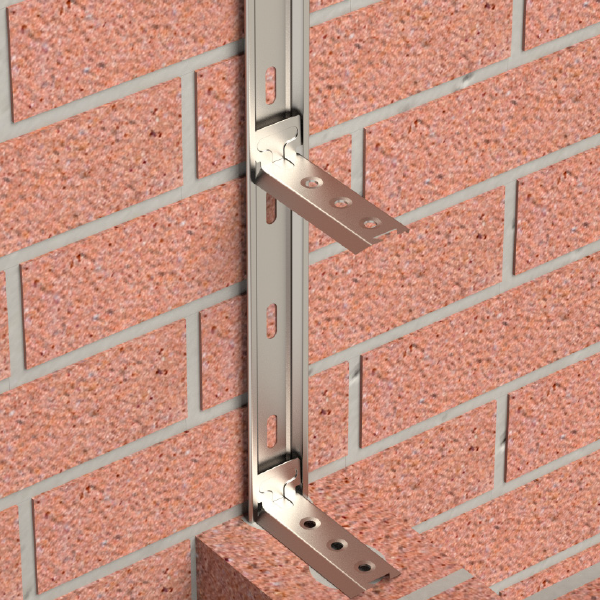
Offer the lower section of the wall starter connector channel to the existing wall to the required centre point of the proposed new masonry.
Plumb the connector channels marking the position of the fixing holes while avoiding mortar joints.
Use three equally spaced fixings per channel length ensuring a fixing between two channels that overlap.
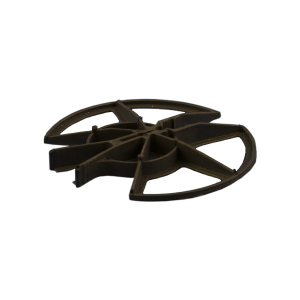
Drill and plug the existing masonry with a 10mm masonry drill.
Lightly clamp the lower section at the two lower fixing points using the coach screws and washers provided.
Slot the subsequent sections of the wall starter channel into the lower channel sections. Then mark, drill and plug the remaining fixing points into the existing masonry using a 10mm masonry drill.
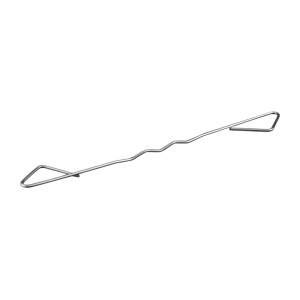
Separate wall starter ties from the kit strip and slot singularly into channels, slide into position and turn up/ down to a perpendicular position.
Lightly clamp the upper section at the two upper fixing points of the channel and the overlap fixing point using the coach screws and washers provided.
Align both connectors and tighten all coach screws (do not over tighten).
Lay brick or blockwork for the new wall in the conventional way leaving a space equivalent to a full vertical mortar joint between the new and existing walls.
Position wall starter ties at 300mm centres.
When built into new masonry the ties should be completely bedded and surrounded with mortar.
Please Note:
Each leaf of a cavity wall construction requires independent wall starter kits.
For external walls, start installing with the bottom edge of the wall starter channel above the damp proof course.
The vertical joint between existing wall and the new walls must be filled and weather sealed.